L-I-F-E happens. And tends to put a big dent in hobby-time. In my case, Life was my daughter's pregnancy, my son's wedding, and the birth of my first grandchild three weeks early. And then came Pennsic.
Pennsic, as you most likely know by now, was hot! I had plans of relaxing and writing, but the heat so sapped my strength, that I barely made it to the classes I wanted to attend and the must-do shopping while at Pennsic.
At the insista...(cough, cough) encouragement of my Laurel, I entered the wool dress I had made over the winter in the A&S Display on War Sunday.
This is a late 12th-century English dress with side-laces and beadwork at the neckline. The sleeves are tighter fitting with underarm gussets. The skirt has front and back gores, as well as at the sides. The main body of the dress was cut as one long piece and has no shoulder seams. Everything is hand sewn.
Two main things I took away from constructing this dress:
- I LOVE working with wool. Seams were sewn by overlapping the pieces and stitching down the edges. No elaborate finishing needed.
- Wool likes to heal itself. Using an awl to stretch the holes for the eyelets wasn't enough. If I didn't quickly tack open the opening at the four cardinal points (N,S,E,W or 12,3,6,& 9 o'clock positions) the wool would close back to its original shape, something linen doesn't do to me. I overcompensated on a few eyelets until I caught onto the best method. Consequently, some of the eyelets are oversized or misshapen.
Many people stopped by to talk with me, from the young girl who was there with her mother and so very excited about giving me a bead, to laurels and A&S Champions of all levels. I answered every question as best I could, justifying my styling and methods.
Two main things I learned:
- Document, document, document. I had researched paintings, illuminations, and read research and suppositions of other SCAdians, but none of it came with me in written form. I had to pull it all out of my head as I talked. I could not remember individual sources or examples. While I could say with confidence that there are extant period ecclesiastical garments with beading, I could not recall where they were from. Written documentation will be a must in the future, even for a Display, as opposed to a Competition.
- Create a pleasing display. This includes the tablecloth, documentation, and any other aspects that will better present my work. I'm planning to finish off the edges of the material I bought last-minute to cover the table, and make something else that is larger if I happen to have more space next time. I'm a large woman, and my clothes take up a lot of table space. I need a proportionally large table covering.
I will close with a photo of the main distraction in my life now, my grandson, B.
YIS,
~ Marjorie
Wednesday, September 14, 2016
Sunday, December 27, 2015
Braving THE city
I'm heading off to the Metropolitan Museum of Art this week, braving NYC by myself to see a special exhibit that ends January 10th: Fashion and Virtue Textile Patterns and the Print Revolution, 1520-1620.
http://www.metmuseum.org/exhibitions/listings/2015/fashion-and-virtue.
The main focus of the exhibit is the Met's collection of pattern books published during this time, supported by clothing, embroidery, paintings and other works of art of the time period.
I'm also going to look for this sculpture:
Master Heinrich of Constance (German, active in Constance, ca. 1300). The Visitation, ca. 1310–20. Walnut, paint, gilding, rock-crystal cabochons inset in gilt-silver mounts. The Metropolitan Museum of Art, New York, Gift of J. Pierpont Morgan, 1917 (17.190.724).
This is about 120 years past my main Period, but totally within the realm of my research. I'm most curious about the difference in the veils.
Why the difference in headpieces?
· Mary (on left) seems to have a decorative cord? chain? That is attached to veil, but how does the veil stay on? Perhaps the chain clips onto both the veil and Mary’s hair?
· Elizabeth (on right) seems to have a more traditional headband, decorated with embroidery?, and chin strap to which the veil would have been pinned.
Was the difference a part of perceived difference in rank between the two?
· Religious status: with Mary being more important because she was considered the Mother of God.
· Societal status: With Elizabeth being the higher rank because she was married to a priest, while Mary was pregnant and unwed.
To me the chin strap would make the veil more secure and therefore be used by someone who works. The lack of a chin strap for Mary indicates that the sculptor believes Mary to be of higher rank, someone who leads a sedentary, non-demanding life, as benefits the mother of our savior.
This belief of the sculptor, if I am interpreting this correctly, is of course completely contrary to the Bible. In the Bible, Mary is betrothed to Joseph (Luke 1:27), who was a carpenter, a manual laborer. Prior to the event portrayed here, Mary had just traveled to visit Elizabeth (Luke 1:39-43). It’s a good bet she walked there, on foot, without the aid of a donkey.
I'll be lining my cloak so I can display it at the East Kingdom 12th Night A&S Display/Popular Choice Competition. That's all that's new in the world of sewing at this time.
~ Marjorie
Wednesday, November 25, 2015
An Independent Scholar
That is what Mistress Ose calls herself when contacting museums for information. Now that I have finished my first letter to a museum requesting information about one of their items, I suppose I may use the same title. The letter is now in the hands of someone who will translate it into French for me.
The museum, Musee-Alfred-Bonno is in Chelles, France, what looks like a small town east of Paris. As such, I'm not going to assume their curator speaks/reads English, hence having my letter translated. I will mail them both versions just in case I'm mistaken.
A copy of the letter follows:
To regular readers of this blog the photo of the bag will look familiar. This is the next step in being able to reproduce the bag.
Keep your fingers crossed the letter doesn't get lost in the mail when I send it, probably in January (janvier) to avoid the Christmas zaniness in the postal system.
~ Marjorie (said with a French accent this time)
The museum, Musee-Alfred-Bonno is in Chelles, France, what looks like a small town east of Paris. As such, I'm not going to assume their curator speaks/reads English, hence having my letter translated. I will mail them both versions just in case I'm mistaken.
A copy of the letter follows:
Dear Sir or Madam,
I am an independent scholar who is interested in one of the
items in your collection. I am hoping
you are able to tell me more about it.
I am curious about the embroidered purse pictured below.
My
only information about it is what is included with the photo:
Date: 1170-1190
Material: Silk threads on linen
Size: 10 cm x 13 cm
There is much I would like to learn about it as I am
interested in trying to recreate it in order to learn more about embroidery
techniques of the Middle Ages. I am
hoping you will be able to provide answers to the following questions:
- First and foremost, is it possible that you could email me
high-definition photographs of the front, back, and inside of the purse?
- Is the stitching truly worked with silk threads and the base
material actually linen?
- Is the purse lined?
With what type of material?
- From the photo I found online, I have been unable to
determine what embroidery stitches were used.
Do you have any information about this?
- The buttons on the side and the drawstrings seem to be a
type of weaving over a solid disk. Do
you know the material of the disk? The type of thread used for the covering?
- Do you know what type of threads were used for the
drawstrings and the carrying strap?
I thank you for your time,
To regular readers of this blog the photo of the bag will look familiar. This is the next step in being able to reproduce the bag.
Keep your fingers crossed the letter doesn't get lost in the mail when I send it, probably in January (janvier) to avoid the Christmas zaniness in the postal system.
~ Marjorie (said with a French accent this time)
My new mantra
...is "Fraycheck is your friend."*
This became part of my life when I decided to put my device on my cloak.

My cloak was a half-circle for the first two years, but I've wanted to enlarge it to a 3/4 cloak from almost the first time I wore it. I just lacked the incentive to clear the space to mark it out. Being an apprentice has motivated me to finish my backlog of projects so this one became the next thing to do.
I added the two quarter triangles to the cloak and took it to dance practice, where I was able to spread it out on the floor and pin along the edge for trimming. At this point it looked remarkably like a green Millennium Falcon:
I began the next phase at the A&S Solar in Nordenhal where I traced out the shape for the gold chief onto iron-on interfacing. This was prior to adopting my new mantra, when I rather stubbornly used what I considered an ingenious modern method to turn the curves on the chief that would also prevent the edges from unraveling. Yeah, I'm not doing that again. The curves came out looking smooth and awesome, but it's not a process I can claim as Period.
The crosses, needles, and "thread" were all fraychecked, though. I sewed the crosses onto the chief and couched them before sewing the chief onto the cloak.
The thread I couched down in all instances was DMC Pearl Cotton #3. On the crosses and needles I used two strands, four strands on the chief, and one on the thread passing through the needles. It was my intention to use Elegance fine twisted silk perle (#8) to hold down all the couching, but I ordered the wrong shade of green. You might be able to notice the lighter stitches on the picture above. I didn't like the effect of the light stitching on the Pearl Cotton, so switched to Pearl Cotton #5 for the crosses as I had it already and wouldn't have to delay the project while waiting for the correct color of silk to arrive. (Not to mention paying again for shipping.)
I finished the applique part of the cloak in time to wear it at Bjorn's Ceilidh. I still need to line it, and even have the linen cut and pinned, ready for sewing, but didn't worry about pushing myself to completely finish it for the event.
Here is the unlined cloak:
The gold chief wraps around to the front. I hope to make a separate hood out of the leftover green wool and line it with the gold linen, once I figure out what style of hood is appropriate for my time and place (1190's, England).
~ Marjorie
* Thank you Lady Ruth for teaching me this mantra.
This became part of my life when I decided to put my device on my cloak.
Vert, in saltire two needles threaded argent, and on a chief invected Or, three crosses bottony vert.

My cloak was a half-circle for the first two years, but I've wanted to enlarge it to a 3/4 cloak from almost the first time I wore it. I just lacked the incentive to clear the space to mark it out. Being an apprentice has motivated me to finish my backlog of projects so this one became the next thing to do.
I added the two quarter triangles to the cloak and took it to dance practice, where I was able to spread it out on the floor and pin along the edge for trimming. At this point it looked remarkably like a green Millennium Falcon:
I began the next phase at the A&S Solar in Nordenhal where I traced out the shape for the gold chief onto iron-on interfacing. This was prior to adopting my new mantra, when I rather stubbornly used what I considered an ingenious modern method to turn the curves on the chief that would also prevent the edges from unraveling. Yeah, I'm not doing that again. The curves came out looking smooth and awesome, but it's not a process I can claim as Period.
The crosses, needles, and "thread" were all fraychecked, though. I sewed the crosses onto the chief and couched them before sewing the chief onto the cloak.
The thread I couched down in all instances was DMC Pearl Cotton #3. On the crosses and needles I used two strands, four strands on the chief, and one on the thread passing through the needles. It was my intention to use Elegance fine twisted silk perle (#8) to hold down all the couching, but I ordered the wrong shade of green. You might be able to notice the lighter stitches on the picture above. I didn't like the effect of the light stitching on the Pearl Cotton, so switched to Pearl Cotton #5 for the crosses as I had it already and wouldn't have to delay the project while waiting for the correct color of silk to arrive. (Not to mention paying again for shipping.)
I finished the applique part of the cloak in time to wear it at Bjorn's Ceilidh. I still need to line it, and even have the linen cut and pinned, ready for sewing, but didn't worry about pushing myself to completely finish it for the event.
Here is the unlined cloak:
The gold chief wraps around to the front. I hope to make a separate hood out of the leftover green wool and line it with the gold linen, once I figure out what style of hood is appropriate for my time and place (1190's, England).
~ Marjorie
* Thank you Lady Ruth for teaching me this mantra.
Wednesday, October 28, 2015
Sewing Tip #1
Something I have known for quite a while is that my handspan is 8-inches. This makes a great way to guesstimate the width or length of furniture while shopping without having to carry a measuring tape. I had an epiphany yesterday while hand-sewing on my new dress. Measure my thumbnail and see if it's close to the 1/2-inch I like to use as my seam allowance.
Oh Frabjous Day! It is exactly 1/2-inch wide.
I no longer have to keep measuring my seam every few stitches. I just aim the needle to the lower edge of my nail.
There is a trick to this method, though. You need to make sure the upper edge is aligned with the material in a consistent manner. Otherwise, your seam is less than perfect.
Perhaps there's actually two tips in this post.
~ Marjorie
Nalbinding Bag
I've finished my first nalbinding project. It's not much, but it's done and it works.
This bag is the second in my series of bags that will camouflage my anachronisms; asthma inhaler, cell phone, water bottle, very sharp scissors, etc. I went a bit overboard on the length while talking to people at dance practice and not paying attention to how many rounds I made.
That doesn't stop it from working, though.
My next nalbinding project (hope, hope) will be a pair of mittens using the mammon stitch. I still need to learn it and become more consistent with my tension, so don't look for them anytime soon.
Meanwhile, I'm appliqueing my device onto my cloak.
~ Marjorie
Friday, October 16, 2015
Nalbinding
I've done it. I've joined the ranks of those who love nalbinding. Thank you, Mistress Ose!
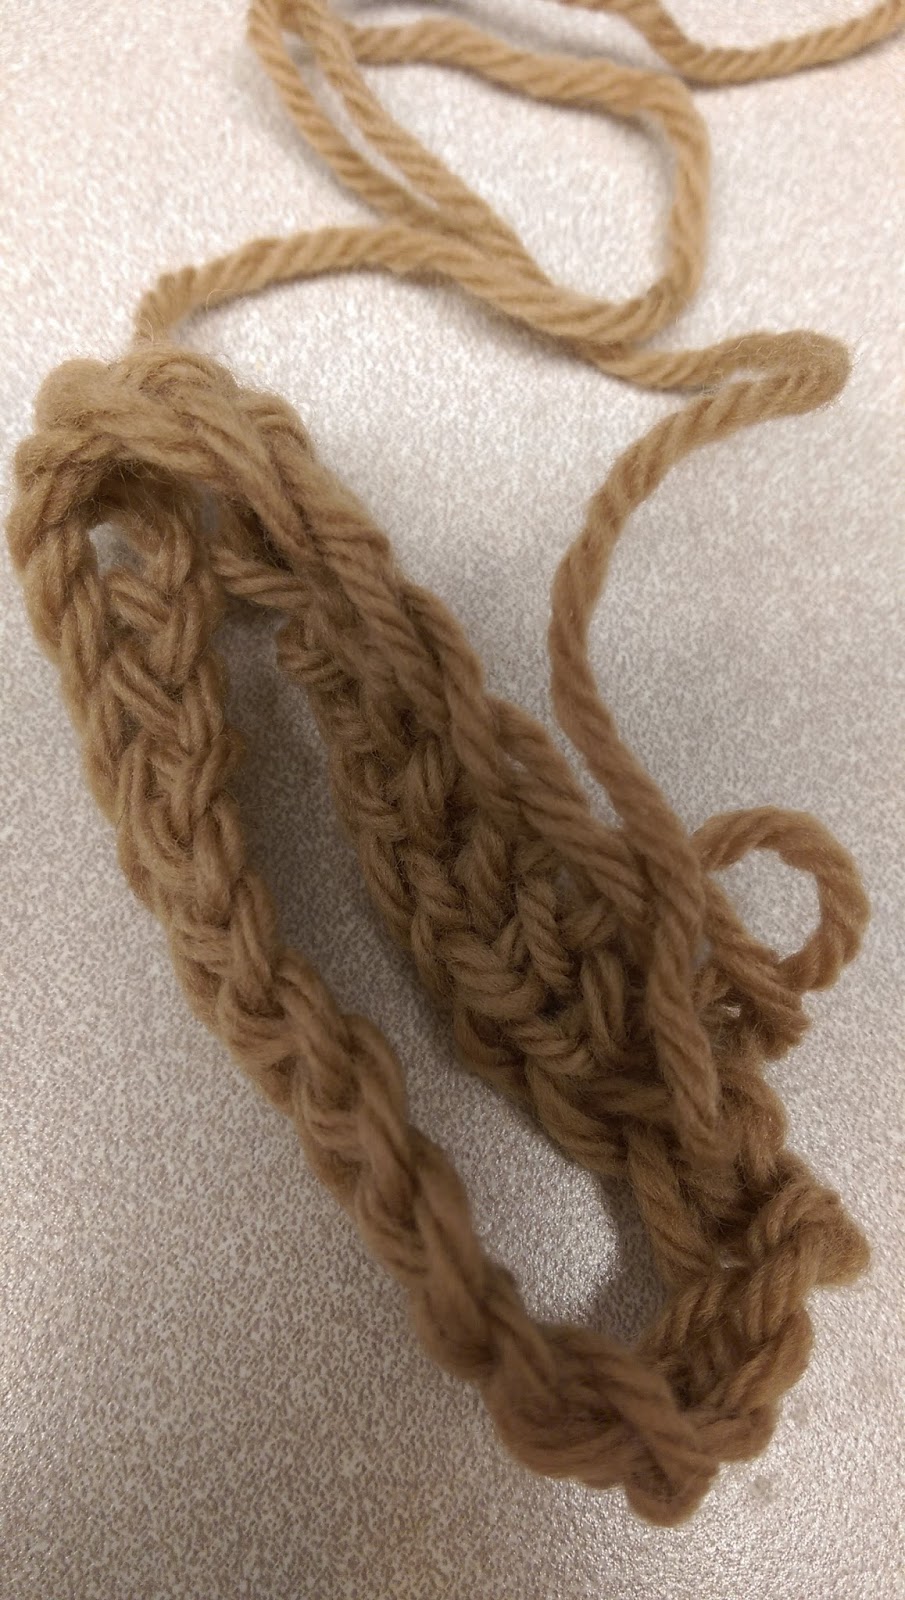
Jenny making her caterpillar. She's excited about having something to do while recovering from ankle surgery.
She and I and Lady Lorita Di Siena met at my house on Monday the 5th, for a beginning nalbinding lesson. I'm hooked. She showed us how to begin the base chain, aka "caterpillar", then the Oslo stitch. Here is my first attempt:
Sometime afterwards, close to a week later, I tried to start an actual project, a covering for my cell-phone during events. I started just fine, made my caterpillar, then connected it to start my second row. It took only a few stitches to realized I'd made the basic blunder of twisting my caterpillar.
Pits.
It took me two more tries to understand that what was intuitively to me the top of the caterpillar was actually the bottom. Now I'm cooking. I continued with the one I successfully connected and went around using what I thought was the Oslo stitch. But it looked different, with a ridge instead of smooth. Humph. I put it down until I could research it some more, like by checking Ose's blog (www.osesilverhair.blogspot.com). She had mentioned to Lorita and I that she had a handout from one of her classes there we could reference.
I didn't get around to doing that until yesterday, just before I showed my niece how to do this cool, medieval/viking craft. So only a ten days after I first learned the basics, I was teaching them to my first student.

Here's the piece I made while teaching Jenny, with properly made Oslo stitches. 

We were back home last night in time for dance practice. While there I worked on the cell phone case. I completed one round of the ridged stitch and then the subsequent with Oslo. I may add another round of ridges for decoration, as it looks kinda cool. What do you think?
~ Marjorie
Subscribe to:
Posts (Atom)